.png?h=595&iar=0&w=2781&hash=5FD5E69473BCC22199FBFA2FB71B6033)
A Guide to Fragging. Part 3: SPS Corals
Author: Richard Aspinall
I’m fortunate enough to spend several weeks a year photographing and diving on some pretty stunning coral reefs in the wild. It’s due to my time diving and photographing beautiful coral reefs that I have noticed just how different reefs in the wild are from their captive counterparts.
It’s not surprising that, despite our best efforts, we cannot replicate the vast scale of the average coral reef. We also tend to put far more individual organisms and colonies into a smaller amount of space in captivity than would be found in the same volume in the wild.
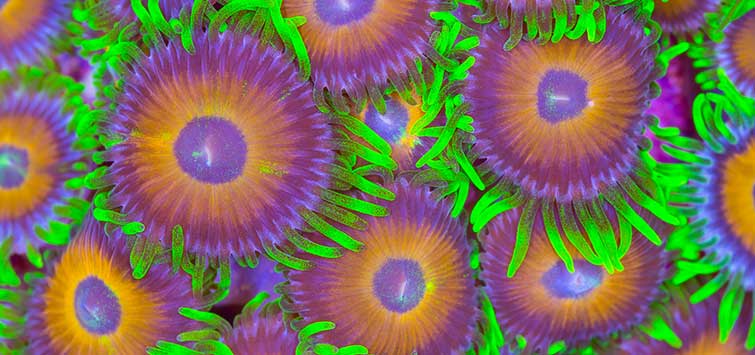
I am reminded of this regularly when I see a patch of reef that is dominated by one particular species of coral, be it a stand of elkhorn coral in the Caribbean, cabbage coral in the South Pacific, or a tabulate form of Acropora in the Red Sea; you often find vast areas of coral that are all derived from the same origin. How and why does this happen?
Wild Propagation
Well, hard corals are ... hard, but they are also brittle. While they can resist a great deal of pressure from the flow of water in areas of high current, they are still quite delicate.
In essence, corals made up of structures that are plate forming, shaped like a table, or antler- or finger-like are easily damaged, with pieces that can easily snap off. If the resultant frag fetches up in a suitable location where its current and light requirements are met, the frag will grow, attach, and form a new colony.
What this means in the wild is that as coral reefs form and grow, they are also falling apart. Thus, over the course of many centuries, they are on the move, marching into the open sea. The reasons for the fracture of the individual coral colonies are varied but can include storms, large grazing fish, careless turtles, divers, and simple mechanical failure due to gravity. In some instances, wave action and storm surges will throw broken pieces of coral onto the reef plate, into lagoon structures, and back onto the reef crest close to their point of origin, allowing the cycle to begin again.
How to Frag SPS Corals
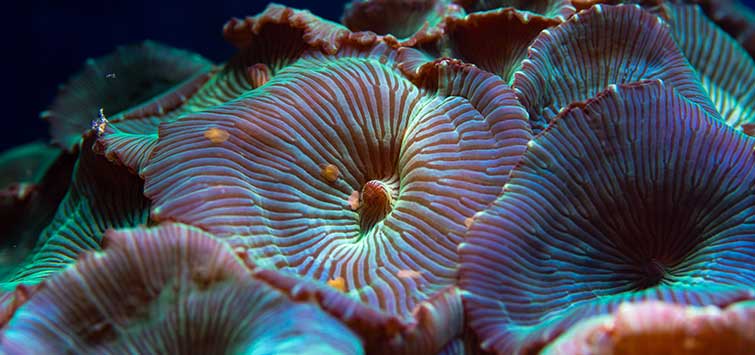
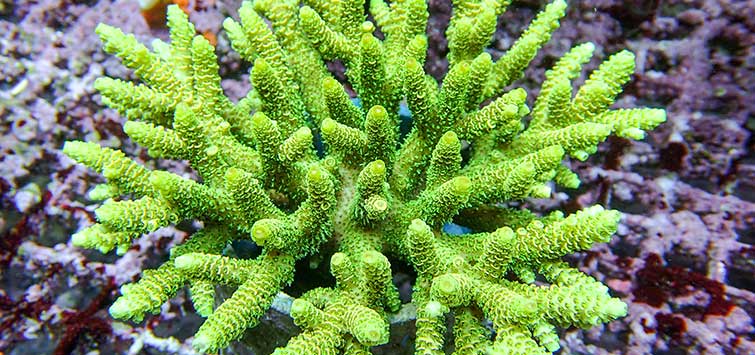
Although I’m going to use a small polyped stony (SPS) coral for this article, this methodology of fragging can be used for any piece of coral that can be snapped from its mother colony (a Duncan coral, for example) or organisms such as gorgonians. However, encrusting corals are a slightly different challenge and require more physical separation with the use of hobby saws.
Step 1
I’m going to select a large frag that’s been in my sump for quite some time. It has not grown particularly well, and some tips have been damaged. It’s an ugly old lump, but it will allow me to create several smaller pieces for attachment or trade that will develop more aesthetically pleasing growth forms.
At this point, I can check for other issues. Does the source coral look healthy? Is the tissue patchy or damaged? Are there any flatworms visible? If the coral is from your home system, then you’ll have a clue as to its health, but if you’ve acquired some coral material from elsewhere, consider keeping it in an isolated quarantine system and/or using a proprietary coral dip. You don’t want to save a few dollars at the expense of destroying your display aquarium.
Step 2
SPS fragging is quite straightforward, but you’ll want to make life easier for yourself by setting up your work area for ease and reducing the stress on your source coral and frags.
I like to use a well-lit table with a chopping board and a basin or bowl that contains the source coral and some system water. A second bowl containing a frag rock is handy for depositing the new frags, but more on that in a moment. My tools and some towels round out the equipment I use for fragging SPS corals.
Step 3
I’ve seen some nice coral propagation kits on the market in recent years, but SPS fragging can be achieved without any particular kit. You can simply snap the coral with your fingers, but you should avoid doing so if possible. If you have the source colony on your table, then snapping isn’t too much of a big deal. However, problems could occur if the source colony is in a tank. You might break the coral at an unseen weak point, your hand may snag another coral, or the force of breaking a piece with your hands could be transferred down the coral skeleton, possibly resulting in the entire colony breaking away from the rockwork.
Bird’s nest corals (Seriatopora sp.) are notorious for doing this. When corals are broken by hand, it’s not uncommon for a flap of flesh to remain, slowly tearing flesh away from the entire colony.
It’s a better idea to use some sort of tool. You can buy coral-fragging tools that have specially designed bypass blades that hold the coral with even pressure, which creates a precise amount of force onto the coral. These tools are ideal and very useful for branching forms.
I use an old pair of garden clippers that were made to prune roses—I always make sure they’re thoroughly cleaned to remove any pollutants before using them. Hydrogen peroxide works well to clean fragging tools, ensuring that no bacteria is present.
Another benefit these tools have over using your bare hands is that they cause minimal damage to the coral tissues around the break. If you hold a coral with your fingers to snap it, you ultimately place pressure onto the coral tissue, which causes unnecessary stress and acts as a potential site for infection. However, you might just have to accept some damage from fingers with corals like plating montiporas, but expect the corals to produce mucus.
Step 4
Once everything is set up to your satisfaction, you can start cutting. In theory, very small pieces of coral can regenerate into new colonies, but they are hard to work with, easily lost, and more susceptible to overgrowth from algae. I like to snip off pieces that are approximately an inch or two in length or, in the case of plating forms, pretty much the size of the fragging disc.
Once you’ve cut off some nice growing tips that will bush out nicely as they grow, you need to consider how you are going to attach them. You can simply attach them directly onto your rockwork and they’ll grow happily, but if you plan to trade them or transfer them to another system, then you’ll want to attach them to something.
Fragging discs are the obvious choice. They come in various sizes, are made from ceramic, and blend in nicely as they quickly become encrusted with marine life. You can use bits of live rock or even ceramic tile, but fragging discs are easily slotted into frag racks using their stem. The last thing you want is newly fragged corals getting knocked into a crevice or into another coral by a bumbling hermit crab or grazing fish.
You can use cyanoacrylate gel to attach the corals—this works well with gorgonians—but I think the best substance is two-part epoxy putty. This material is widely available in fish stores in standard or coralline algae-colored varieties. With two-part epoxy, you take two equal amounts of each putty and mix them together to create one amorphous, even-colored
substance.
You can also use products designed for models and household repairs, which are often cheaper and available from the hardware store, although sometimes the products designed for aquarium use will set more quickly and won’t liberate as many particles into the water.
Step 5
If you’re using two-part epoxy, create the mixture. Once you have it prepared, break off one piece per coral frag, perhaps about half an inch (1.25 cm) in diameter, and stick it atop one of your fragging discs. It helps if the discs are dry and arranged in a rack on your work station.
It’s a good idea to rinse your hands thoroughly—fresh water is fine. You will have a certain amount of the two-part epoxy on your fingers, which, although not toxic, will rub off onto the coral structures as you handle them. It will look unsightly and cause stress to the frag.
Dab away any excess moisture and mucus from the frag, then dip it into the epoxy. With dry hands, gather the epoxy up around the frag a little way with one finger to hold it. The epoxy isn’t the stickiest stuff in the world and is not elastic, so you won’t need to play with it too much. It will work well as long as it holds the coral in place and there is a good contact between the frag base and the epoxy.
Step 6
Now you can transfer the new frags that are in the rack back into your system. Make sure as best you can that they’re in similar conditions to the source coral. Keep them free from algae, and let them get on with recovering and growing. Setting times vary for the adhesive, but an hour or so is usually sufficient for the two-part epoxy.
Tidiness is in the eye of the beholder, but I believe that the coral should grow as long as it’s held firmly and free from interference. After all, corals in the wild don’t all end up sticking skyward at a 90-degree angle.
Growth
Depending on the coral, water quality, and light—as well as a variety of other factors—you should start to see some growth within a few weeks. Signs of growth often include a slight thickening of the frag just above the area of the epoxy.
Over time the coral will grow new tissue and skeletal material downward and across the fragging disc, although it should be noted that growth is aided by good lighting from a bright but diffuse source. I find that T5s or LEDs fitted with wide dispersion lenses work best.
You’ll also notice the beginnings of new growth tips on your frag and, in the case of plating corals, they will do just that. It’s at this point that you can feel really pleased with yourself and take pride in the fact that you are growing and propagating corals.